

- Walking Dead Saints and Sinners Best Weapons - July 31, 2023
- Pistol Whip Style Guide - June 8, 2023
- Bonelab Best Mods: Our Top 16 - February 15, 2023
Half-Life: Alyx has been hailed as the most advanced VR title to date, and with that accolade comes a relatively steep learning curve for newbies.
Many people have purchased a VR headset solely to play the game, while even for experienced VR users, the jump from games like Beat Saber or Super Hot VR to this is a large one. I’ll run through everything you need to know to get started in this guide.
Bottom Line Up Front
This article contains the basic information you should know both before playing and during your initial time with the game. To sum up my recommendations for first-time players: spend some time in the settings to tweak the game, and take things slowly. While the game is technically a first-person shooter, it requires a more methodical, careful approach.
Before You Begin
Before you start the game, take some extra time to go through the settings tab in the main menu. Here you’ll find a whole manner of options.
System Requirements
This section of the article assumes you’ve bought the game knowing your PC adheres to the system requirements. Find below both the minimum and recommended graphics specs:
Minimum:
GPU: A GTX 1060 or RX480 GPU with 6 gigabytes of V-RAM
RAM: 12 gigabytes of system RAM
CPU: An Intel Core i5 7500 or an AMD Ryzen 1600 CPU
Recommended:
GPU: An RTX 2070 Super or AMD RX 5700 XT GPU
RAM: 16 gigabytes of system RAM
CPU: An Intel Core i7 9700K or AMD Ryzen 5 3600
You’ll also need to ensure you have at least 70Gb of hard drive space. See our Half-Life: Alyx Requirements guide for a more in-depth breakdown of what these specs mean.
Movement
The first thing you’ll want to cast your eye over is the controls section. You won’t need to memorize any button layouts as the seamless, in-game tutorial does a great job at familiarizing you with that. Rather, decide whether you’ll want to use teleportation movement or full locomotion.
The former targets VR beginners or, as this group is often colloquially referred to, those who don’t have their “VR legs.” Having your VR legs simply means that you are entirely comfortable with traversing a VR environment without feeling sick.
Often, VR is a shock to the system for beginners, and attempts to jump straight into traditional video game movements are nauseating at first. After a while, though, the body acclimatizes to the activity, and you can play for extended periods without a problem.
Teleportation movement eases a player through this process; rather than using the left analog stick to move as you would in a traditional, flat-screen game, it automatically functions as a pointer to teleport you to the desired position. Because this method doesn’t simulate the action of walking, the potentiality for sickness is reduced. It’s not as realistic as moving around, but it’s considered a more comfortable way to play.
Full locomotion, on the other hand, refers to using traditional dual analog stick controls to move the character and rotate the camera. This method offers the most immersive experience but is usually only tolerable to people with at least a little VR experience.
There are also options for rotating the camera. You can opt for a smooth, continuous turn or choose from a variety of ‘snap’ turning methods. With snap turning, pushing the right stick left or right will result in an incrementally rotating camera: this can help dispel any feelings of sickness or dizziness and is a nice feature to use in conjunction with the teleportation method.

Graphics
The graphics settings are the second most important consideration before you start playing. Whether your PC matches the minimum or recommended settings (or something in between), you’ll want to make sure things are set up properly for the most immersive experience.
You’ll find the game’s graphics settings in the ‘performance’ tab of the main menu settings. Thankfully, the game automatically benchmarks your PC and sets the best overall settings for your system — but if you wish, there’s always the opportunity to eke out a little more performance.
Check out this official guide covering the game’s graphics settings, and if you want to take things even further, you can read this more advanced guide.
The First Hour
The first hour of the game walks you through the most basic mechanics, such as movement and using your in-game hands, but here’s a quick primer before you go in.
Interact with Everything you See
One thing I often see beginner players forget about is interacting with the details. The first hour of the game moves you through City 17 at a relatively slow pace, and this is to give you a chance to get to grips with interaction. Don’t rush through: there are a ton of cool objects to interact with as you progress, so make sure you push every button you see, open every door, and closely examine every object!
Pay Attention to the Dialogue
Given the awe-inspiring graphics and rather overwhelming setting, it’s easy to let the game’s dialogue slip by the wayside. Wear headphones or earphones for maximum immersion, and make sure you pay attention. In true Half-Life fashion, there aren’t any cutscenes here; you’ll need to make sure you’re attuned to cues from the environment to follow the story — and you’ll definitely not want to skip any of it.
Practice your Marksman Skills
Within the first hour, there will come the point where you’re given your first gun. This is simultaneously the point where you learn how to use the gravity gloves. The player is placed in a small courtyard and given the opportunity to interact with and shoot a variety of static objects, and it pays to take your time and practice. Boarding the train to the next segment marks the beginning of the main game, and from then on, you’re on your own.
Get good at flinging objects into your hands before you leave, and make sure you’re attuned to all aspects of handling a weapon. Russel will continually throw down more ammo if you run out, making this point the only time in the game where each shot isn’t an important decision. Unlike flat-screen gaming, reloading is actualized to the extent it would be in real life, as is shooting, so things can get stressful fast during enemy encounters if you don’t know what you’re doing.
Core Mechanics Guide
In this section, I’ll detail the core mechanics of the game.
The Inventory
There can be a lot of different items to keep track of in this game, but thankfully, inventory management is a breeze. Weapons and items are stored in your backpack, and to access them, you’ll need to press whichever button your controller map dictates to open the inventory menus. Here you’ll see all your weapons and tools. To select one, simply move your hand in the direction of the slot that item is stored in and press the grab button.
Aside from the backpack, items can also be stored in slots on your wrist. To access these items, simply hover your hand over your wrists to reveal the item stored there and press the grab button. Similarly, to store an item here, grab the equipment, hover it over an empty slot in the wrist inventory, and release the grip button.
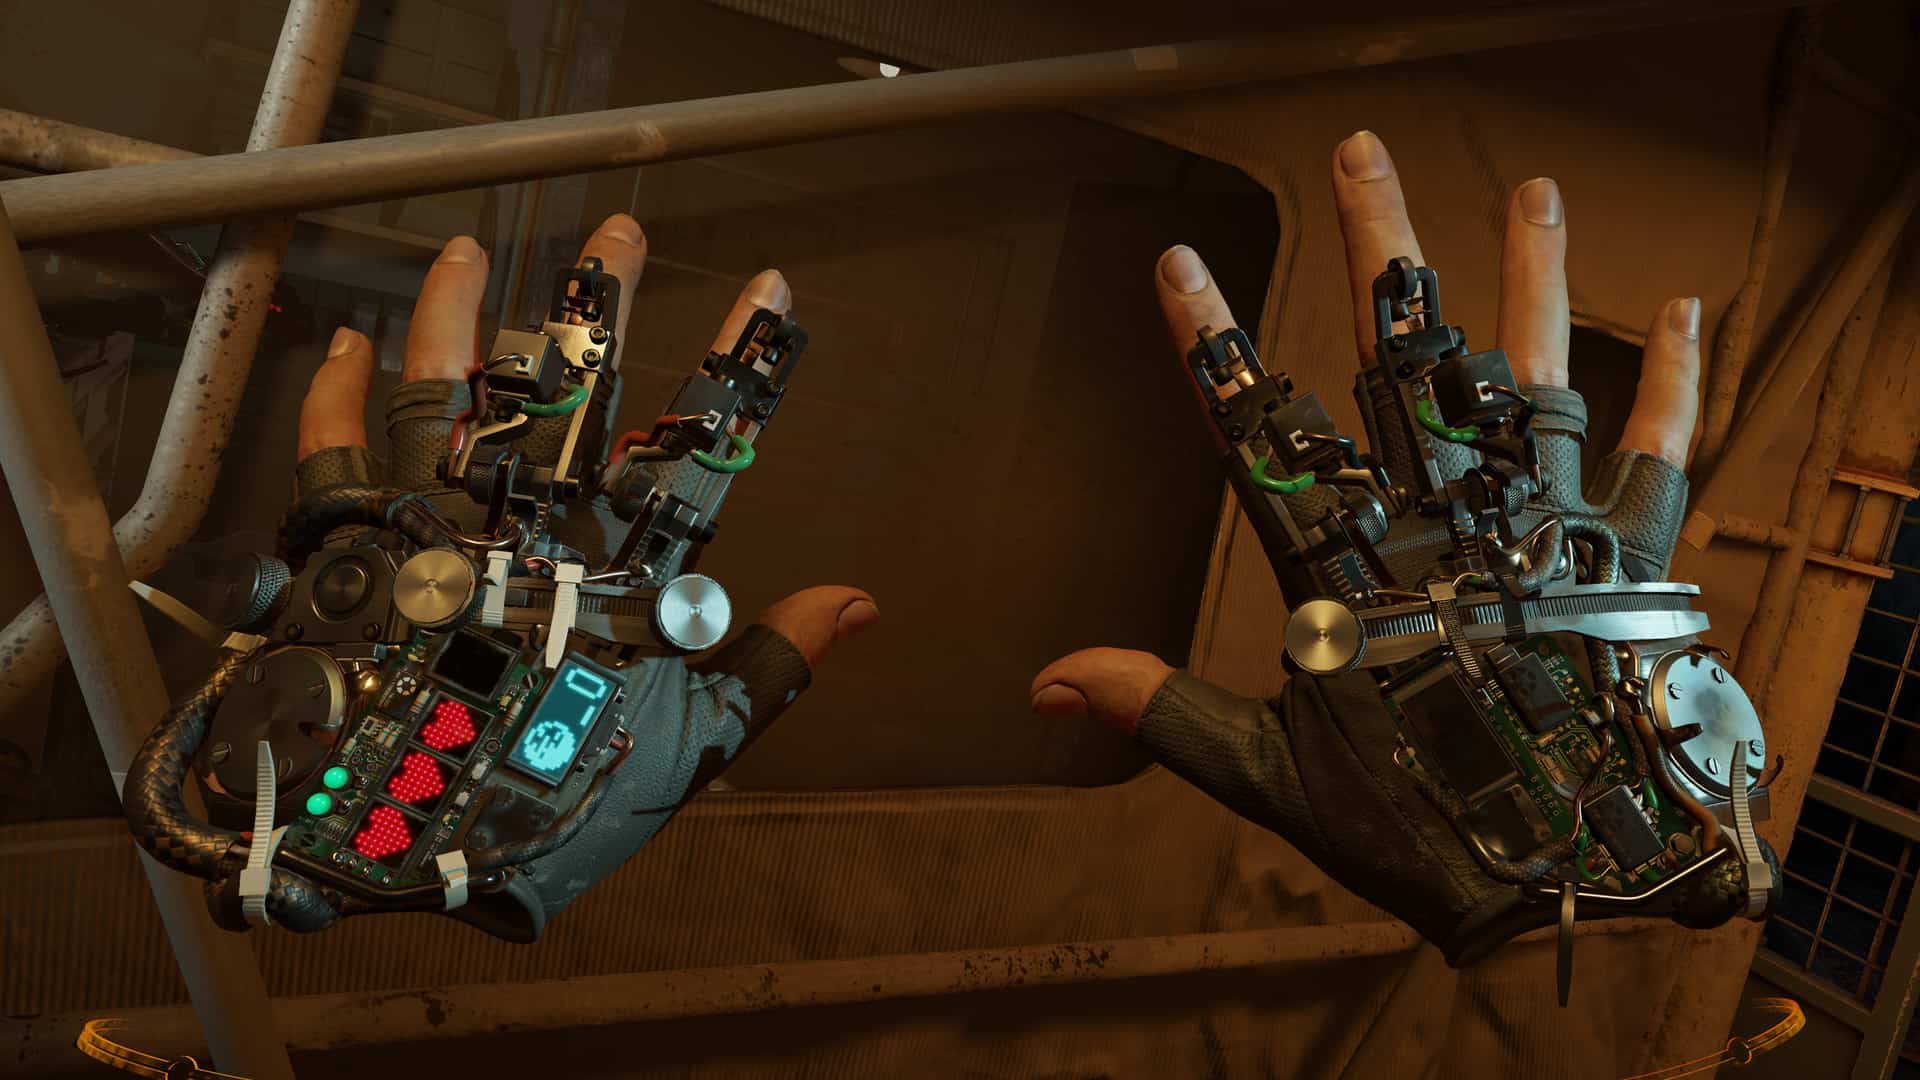
The Gravity Gloves
Affectionately dubbed ‘The Russel’s’ after their creator, the Gravity Gloves are a crucial component of the game. Fans of Half-Life 2 will remember the Gravity Gun — a multi-functional weapon that enabled the player to move heavy items, solve puzzles, and fling enemies across the environment. The gravity gloves aren’t quite as powerful, but they are more tactile, and they’re just as fun to use.
Pointing your controller in the direction of the object you want to grab will create a white halo around it, and pushing the grab buttons on your controller and flicking your wrist towards your body will pull that item into your hands. You’ll need to release and press the grab buttons again to catch the objects.
Object weight also comes into effect when using the Gravity Gloves: heavier or lighter objects will react accordingly, and for larger items, you’ll need to use both hands to catch them.
The Gravity Gloves are super easy to get the hang of, and with a little practice, the process becomes second nature. They also display your health as three hearts on the back of the hand.
Using Weapons
Weapons in Half-Life: Alyx function quite differently from how they do in flat screen gaming. Rather than pressing a button to reload and benefiting from assisted aiming, you’ll need to aim freely and manually eject and insert your clips.
This makes fights more frantic, so it’ll be something you need to get used to. All firearms function the same way: press a button to eject a clip/shell, reach behind your head to your back pack and press the grab button to pull out new ammo. Then, load the weapon by doing whatever mechanical action is required for that specific gun. Ammo is displayed on the weapon.
Aside from firearms, Half-Life: Alyx also features two different types of grenades: Frag and Xen. Both offer different abilities but function the same — one-button arms them, and a physical throw dictates where they’ll go before exploding.
For a full overview of the in-game weapons and how they work, please see our Half-Life: Alyx Overview article here on the site.
Healing Yourself
Healing yourself from damage is quite different from how it was in previous Half-Life entries, but many aspects remain the same. For a big health boost, you’ll still need to use health stations. This is done by finding grub health canisters within a level, inserting them into a health station, and placing your hand on the designated platform.
There also exist portable medkits that function similarly to an eppy pen: take them out and stab them into your virtual body for a quick health fix.
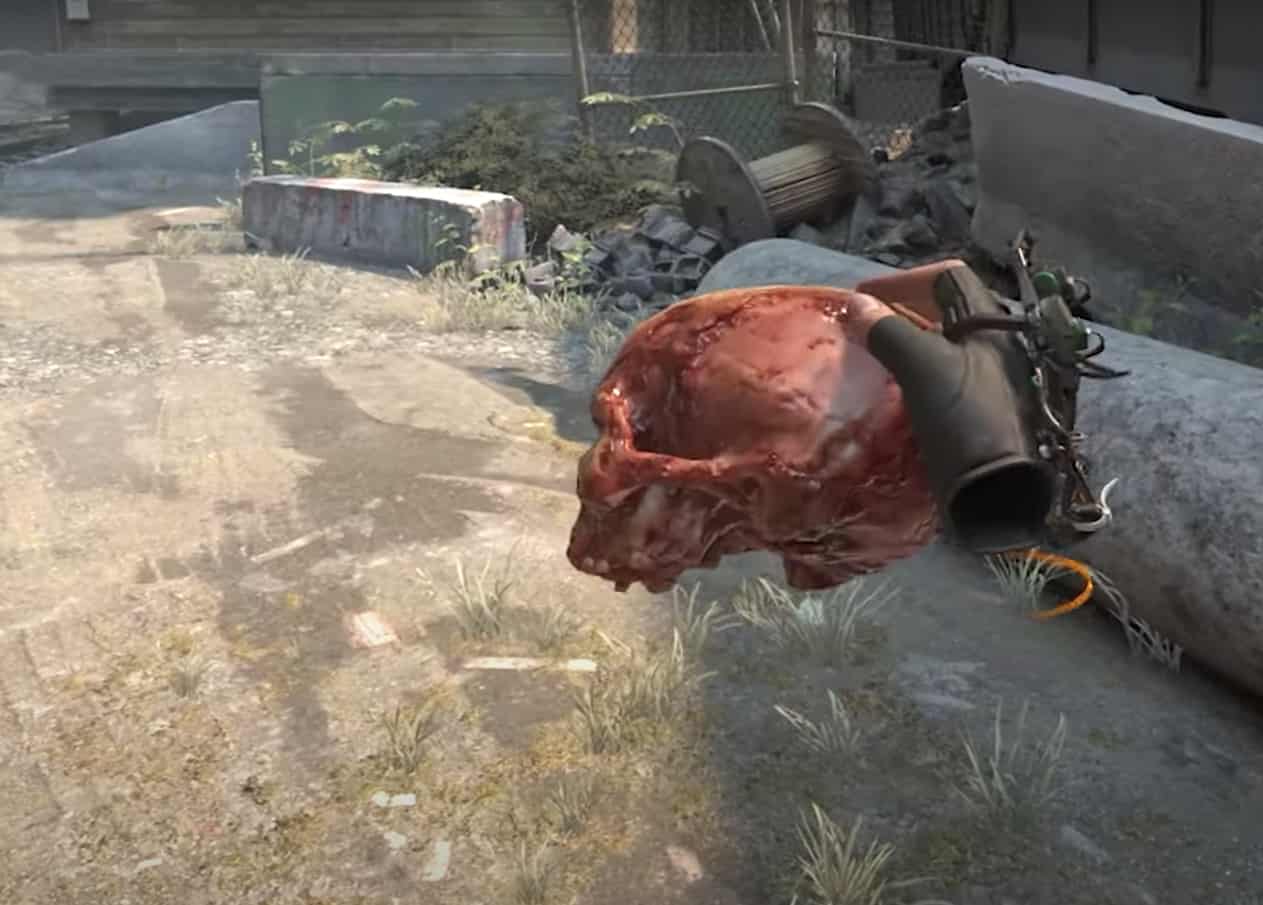
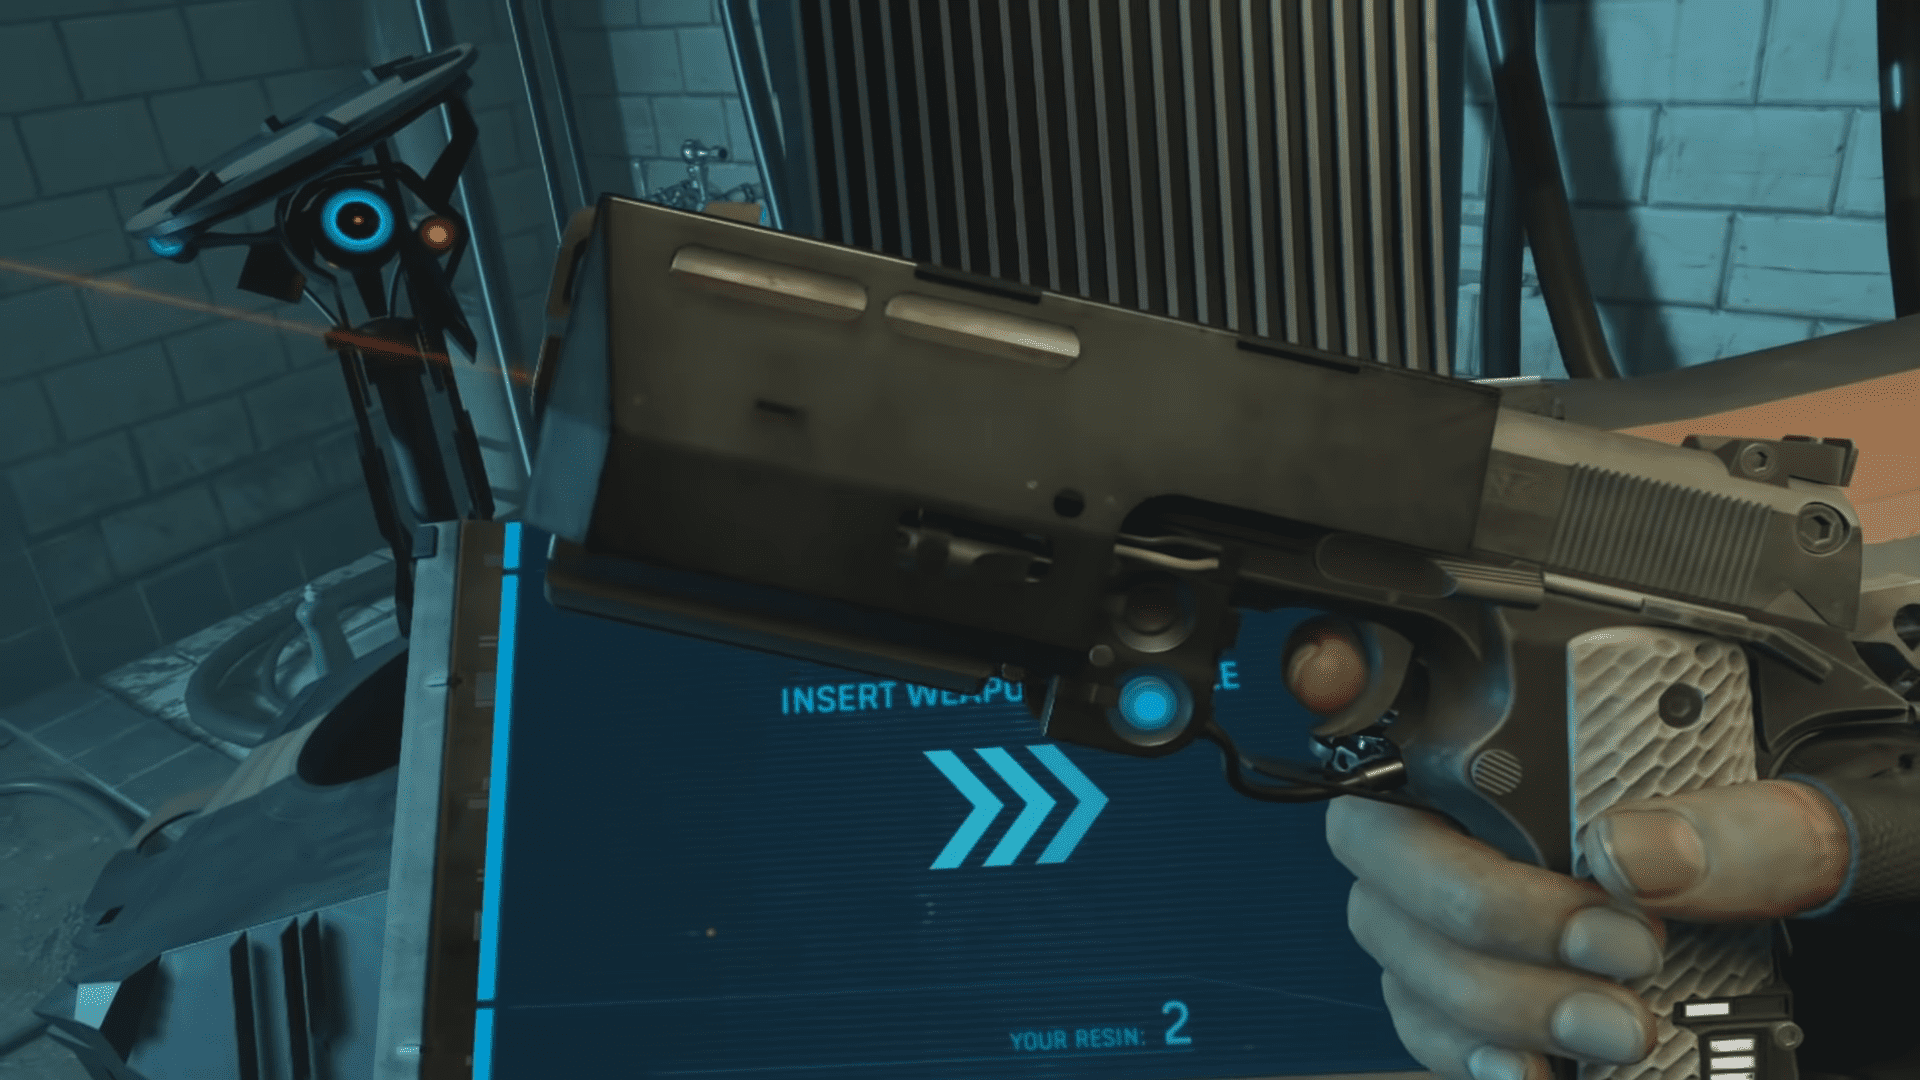
Resin and Upgrading Weapons
You’ll soon come across little glowing rocks as you open draws and scavenge through decaying buildings. This is Resin, and it’s this game’s currency. You’ll use Resin once you find upgrade systems to buy attachments for your weapons. I won’t spoil discovering these upgrades for yourself, but know that they can be pricey and that different upgrades cost different amounts. You also can’t change your mind once you’ve decided on an upgrade.
Make sure you’re always keeping an eye out for Resin — it’ll make your journey through the game much more fulfilling, both in an explorative sense and through being able to use more satisfying and impactful weapons!
Puzzles and the Multi-Tool
As is commonplace in the Half-Life series, there are a multitude of clever puzzles that you’ll be required to solve in order to progress. Usually, these involve usage of Alyx’s multi-tool — a gadget fans of Half-Life 2 will remember her using to get Gordon Freeman and herself out of a number of sticky situations.
In this game, you’ll use it to unlock doors and locked compartments, and doing so usually requires you to solve a specific puzzle. These include the following:
- Wire puzzles: Puzzles that require the player to use the multi-tool to locate electrical wiring in a wall and then rotate junction points to create a complete circuit and open a door.
- Orb Puzzles: These puzzles necessitate a steady hand to maneuver a globe and a laser through a timed sequence. They come in many different varieties and get progressively harder throughout the game.
It’s also worth mentioning that you’ll be required to hunt for batteries to open doors on more than one occasion, so keep an eye out!
Tips We Wish We Knew
Conserve Ammo
Half-Life: Alyx is much more of a survival horror type experience than it is a first-person shooter. Gordon Freeman is a far more gun-hoe protagonist than Alyx, and in this game, ammo is a lot more scarce. Learning to be precise is an essential skill, and if you go in guns blazing, you’ll run out fast. This is particularly apparent considering there’s no melee combat in the game; if you’re completely dry, you’ll need to desperately hunt around the environment for a clip.
Keep an eye on your ammo at all times.
Use Your Ears (and Use Headphones)
The game makes excellent use of sound design to alert the player to certain aspects of the environment. Whether it’s the ever-encroaching slow shuffle of a Combine mini-gun soldier or the spluttering of alien flora, your ears will often be your greatest asset in informing you of what’s to come. Headphones not only enhance your immersion significantly, but they’re also a great asset for playing at your best level.
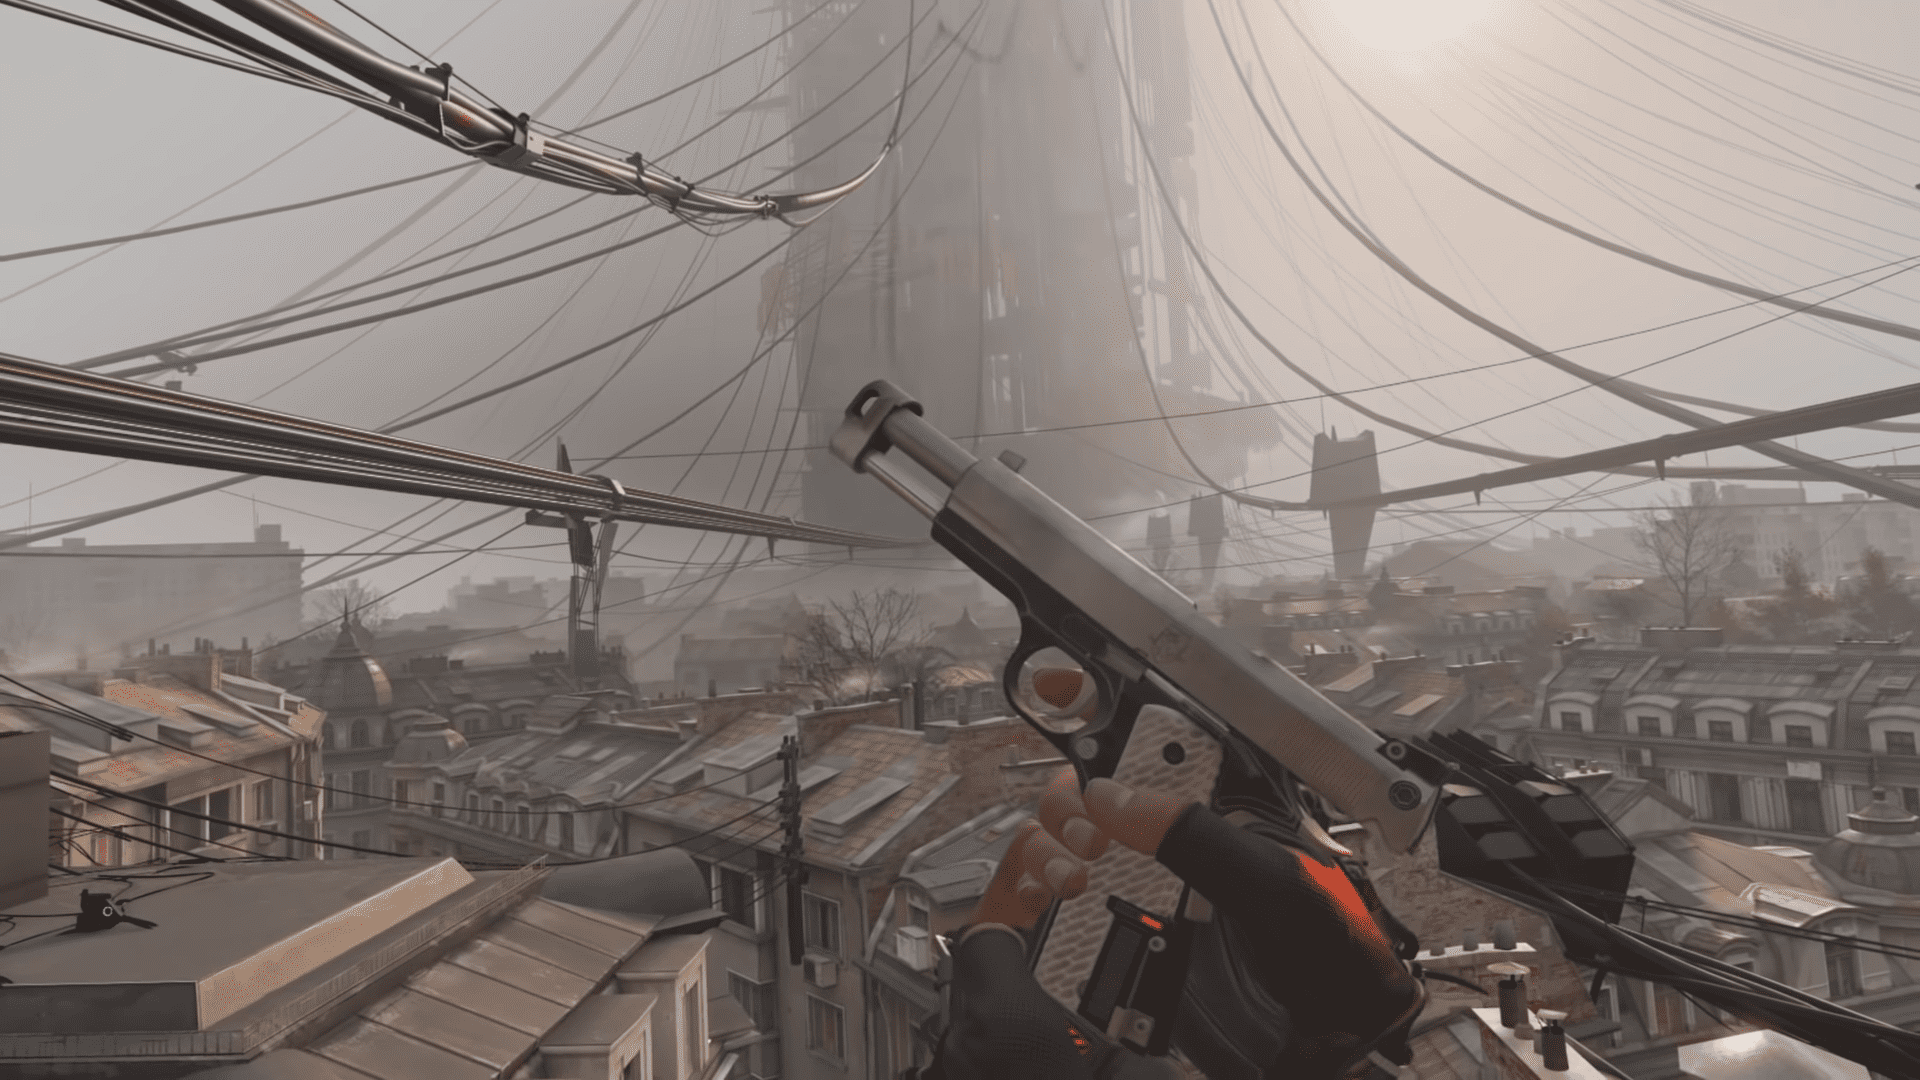
Maximally Upgrade the Pistol
Out of all the weapons, the pistol is easily the most versatile weapon in the game: it’s good at close range and at a distance, and its semi-automatic fire rate allows the player to make quick work of almost any enemy in the game. If you’re going to upgrade one of the weapons fully, the pistol is a great bet!
Common Mistakes to Avoid
Watch a Re-cap for the Original Games
While Half-Life: Alyx can certainly be enjoyed without any prior knowledge of the series, most would agree that to get the most out of your play-through, you’d do well to familiarise yourself with the wider story. Part 1 and part 2 of this recap from GamingBolt does a great job of getting new players up to speed. Don’t cut your experience short by ignoring the story!
Don’t Arbitrarily Upgrade your Weapons
I’ve found that it’s best to upgrade one weapon fully than to try and upgrade everything. Realistically, you’ll only have enough Resin at the end of your first playthrough to maximally upgrade one, and individual upgrades often don’t amount to a great deal of difference in combat without the others. I went through my first playthrough trying to upgrade everything but was left with only minimal improvements for each. Choose your upgrades carefully.
Conclusion
This article has provided you with everything you need to know to get started enjoying Half-Life: Alyx. Things can be a little overwhelming at first, but take the time to familiarise yourself with the pointers in this guide, and the mechanics will soon feel second nature. Have fun!
FAQ
Question: Do I Need to Have Played Other First-person Shooters to Enjoy Half-Life: Alyx?
Answer: Some experience with FPS games wouldn’t go amiss, but with this game functioning more like a survival horror, and with the mechanics being quite far removed from traditional games in the genre, it isn’t essential.
Question: When can I Switch From Teleportation to Full Locomotion Movement?
Answer: Whenever you feel ready, there’s no rule for when to make the switch. The best way to find out is to give each mode a go. Once you’ve been in the game a good few hours using teleportation, you may find you’ll be comfortable enough to try out the more advanced movement mechanics.
Question: How Frighting are the Horror Elements?
Answer: A lot of people watch the trailer and are put off by the creepy atmosphere. It’s true that the game features some pretty scary moments, but for me personally, the game didn’t present anything overtly horrifying. If you really don’t do well with horror games, however, you might want to hold off until you’ve acclimatized to more intense VR situations.